The undeniable convenience of a non-stick pan is a cornerstone in many kitchens, promising effortless cooking and easy cleanup. But what happens when that magic coating starts to betray you, turning your perfectly cooked eggs into a frustrating, stuck-on mess? Before you consider tossing that once-reliable pan, understand that a sticky non-stick surface doesn’t always spell the end. Often, the solution is simpler than you think: a combination of deep cleaning and proper re-seasoning can bring your pan back from the brink.
This guide will demystify why your non-stick pan loses its slickness, reveal the straightforward secret to restoring its performance, and arm you with the knowledge to prevent future sticking. Get ready to rediscover the joy of food gracefully sliding off your pan, just as it should.
Understanding Your Non-Stick Pan: Why Does It Stick?
Non-stick pans, typically coated with materials like PTFE (Teflon) or ceramic, are engineered for a low-friction cooking surface. However, this delicate coating is susceptible to damage and degradation over time, leading to that dreaded stickiness. Identifying the root cause is the first step toward a successful revival.
Several common culprits are responsible for a non-stick pan losing its efficacy:
- Overheating: This is perhaps the most frequent offender. Non-stick coatings are not designed for extremely high temperatures. Exceeding recommended heat limits (often around 500°F or 260°C for PTFE) can break down the coating, making it uneven and prone to sticking. Empty pans preheated on high heat are especially vulnerable.
- Scratches and Abrasions: The non-stick layer is delicate. Using metal utensils, abrasive scouring pads, or stacking pans without protection can create tiny scratches. These imperfections compromise the smooth surface, allowing food to cling and creating areas where the coating can eventually peel or flake.
- Residue Buildup: Over time, cooking oils, especially those with lower smoke points like extra virgin olive oil, can polymerize and carbonize on the pan’s surface. This forms an invisible, sticky film that food adheres to, masking the original non-stick properties. Similarly, some cooking sprays can leave a gummy residue that bonds to the coating.
- Improper Cleaning: While easy cleanup is a hallmark of non-stick pans, harsh detergents, abrasive cleaners, or even frequent dishwasher cycles (for non-dishwasher safe pans) can erode the coating or leave behind chemical residues that diminish its performance.
- General Wear and Tear: Like all kitchen tools, non-stick pans have a lifespan. Even with the best care, the coating will naturally degrade over many years of use. However, proper maintenance can significantly extend this lifespan.
The Simple Secret to a Revived Non-Stick Pan: Deep Cleaning & Reseasoning
The “secret” to restoring a sticky non-stick pan isn’t magic, but rather a combination of thorough cleaning to remove hidden residues and a light re-seasoning to protect the surface. This two-step process can often bring a pan back to its former glory.
Step 1: The Deep Clean
|
Our Picks for the Best Non stick pan in 2026
As an Amazon Associate I earn from qualifying purchases.
|
||
| Num | Product | Action |
|---|---|---|
| 1 | Tramontina Professional 10-Inch Non Stick Frying Pan, Heavy-Gauge Aluminum Skillet with Reinforced Nonstick Coating, Red Handle, Dishwasher and Oven Safe |

|
| 2 | SENSARTE Nonstick Frying Pan Skillet, Swiss Granite Coating Omelette Pan, Healthy Stone Cookware Chef's Pan, PFOA Free (9.5 Inch) |
|
| 3 | SENSARTE Nonstick Skillet, Deep Frying Pan 10/11/12-inch, Saute Pan with Lid, Stay-cool Handle, Healthy Stone Cookware Cooking Pan, Induction Compatible (10-Inch/3.5QT) |
|
| 4 | CAROTE Nonstick Frying Pan Skillet,Non Stick Granite Fry Pan Egg Pan Omelet Pans, Stone Cookware Chef's Pan, PFOA Free,Induction Compatible(Classic Granite, 8-Inch) |
|
| 5 | Blue Diamond 10" Nonstick Frying Pan Skillet, Diamond Infused PFAS & PTFE-Free Ceramic Pot, Dishwasher & Oven Safe, Stay Cool Handle, Durable Non Toxic Metal Utensil Safe, Egg & Omelet Pan, Blue |
|
| 6 | GoodCook Nonstick Sauté Pan, 10 Inch, Black |
|
| 7 | Non Stick Frying Pans, 12-inch with Lid, Hybrid Fajita Pans Nonstick,non stick Skillets Stainless Steel, Dishwasher & Oven-Safe, Induction Compatible Cooking Pan, PFOA Free Cookware |
|
| 8 | Tramontina Professional 8-Inch Non Stick Small Frying Pan, Heavy-Gauge Aluminum Skillet with Reinforced Nonstick Coating, Red Handle, Dishwasher and Oven Safe |
|
| 9 | SENSARTE Nonstick Frying Pan Skillet, Swiss Granite Coating Omelette Pan, Healthy Stone Cookware Chef's Pan, PFOA Free (8/9.5/10/11/12.5 Inch) (8 Inch) |
|
| 10 | SENSARTE Nonstick Frying Pan Skillet with Lid, 12 Inch Large Deep Frying Pan, 5 Qt Non Stick Saute Pan with Cover, Induction Pan, Healthy Non Toxic Cooking Pan with Helper Handle, PFOA PFOS Free |
|
Before attempting to re-season, it’s crucial to eliminate any built-up grease, polymerized oils, or food particles that are causing the stickiness. Remember, gentleness is key.
Method 1: Water and Vinegar/Baking Soda Boil
This method is excellent for dissolving stubborn, invisible residue without harsh scrubbing.
- Fill the pan: Add about 1 cup of water to your pan, followed by ½ cup of white vinegar.
- Boil: Place the pan on the stovetop over medium heat and bring the mixture to a boil. Let it simmer for about 5-10 minutes.
- Cool and clean: Remove the pan from the heat and let the mixture cool completely. Once cool, pour out the liquid.
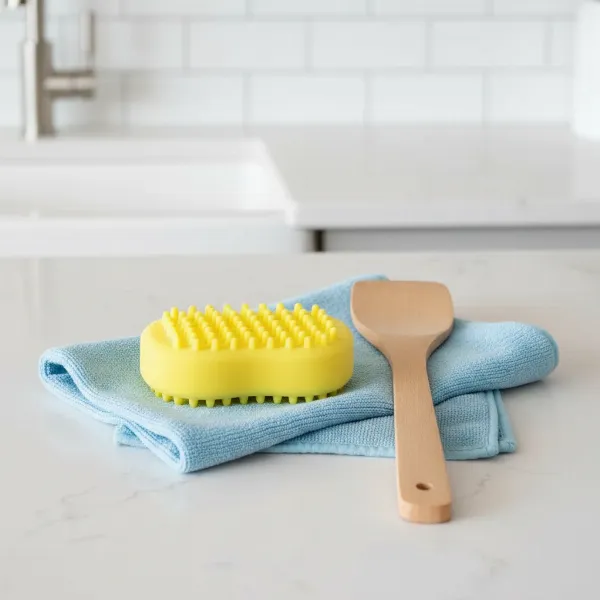
- Gentle scrub: Wash the pan with warm water and a mild dish soap using a soft sponge or cloth. You should feel the surface becoming smoother.
Method 2: Baking Soda Paste for Tougher Spots
For particularly stubborn or localized sticky spots, a baking soda paste can work wonders.
- Create paste: Mix a few tablespoons of baking soda with a small amount of warm water to form a thick paste.
- Apply: Spread the paste over the sticky areas of the pan.
- Soak: Let the paste sit for 15-30 minutes, allowing it to work on breaking down the residue.
- Gently scrub: Using a soft sponge or cloth, gently scrub the paste in circular motions.
- Rinse and dry: Rinse the pan thoroughly with warm water and dry it completely. Ensure no baking soda residue remains.
After either method, your pan should feel significantly cleaner and smoother to the touch.
Step 2: The Reseasoning Process
Once your pan is sparkling clean and dry, the next step is to create a fresh, temporary non-stick layer. This “seasoning” helps protect the coating and enhances food release. Unlike cast iron, where seasoning builds a thick, permanent layer, for non-stick pans, it’s about forming a thin, sacrificial barrier.
Choosing the Right Oil: Opt for an oil with a high smoke point to prevent it from burning and leaving more residue. Good choices include canola oil, vegetable oil, grapeseed oil, or avocado oil. Avoid olive oil for this process due to its lower smoke point.
Stovetop Method (Quick & Easy):
- Heat the pan: Place your clean, dry pan on the stovetop over medium heat for 1-2 minutes until it’s warm.
- Add oil: Pour 1-2 tablespoons of your chosen high smoke point oil into the pan.
- Distribute: Using a paper towel, carefully spread the oil evenly across the entire cooking surface, including slightly up the sides. The goal is a very thin, almost invisible film, not pooling oil.
- Heat again: Continue heating the pan on medium heat for another 2-3 minutes, or until you just start to see a wisp of smoke (this indicates the oil is polymerizing and bonding to the surface).
- Cool and wipe: Remove the pan from the heat and let it cool completely. Once cool, wipe away any excess oil with a clean paper towel. A light, protective film should remain.
Oven Method (For a More Even Coat):
- Preheat oven: Preheat your oven to 300-400°F (150-204°C).
- Coat with oil: Apply a thin, even layer of high smoke point oil to the clean, dry pan’s entire cooking surface, similar to the stovetop method.
- Bake: Place the pan upside down on the middle rack of the preheated oven. You can place a baking sheet on the rack below to catch any drips. Bake for 15-30 minutes.
- Cool and wipe: Turn off the oven and let the pan cool completely inside the oven or on a wire rack. Once cool, wipe away any excess oil.
The “Egg Test”:
To verify your pan’s newfound non-stick prowess, try frying an egg with a minimal amount of oil. If it slides around effortlessly, your secret worked!
“Many believe non-stick pans can’t be re-seasoned like cast iron, but a proper deep clean followed by a light oil treatment can significantly extend their life by addressing accumulated residue that hinders performance.”
Beyond the Fix: Preventing Future Stickiness
Restoring your pan is a great start, but adopting good habits will ensure its non-stick properties last longer. Prevention is always better than cure.
- Master Heat Control: Always use low to medium heat when cooking with non-stick pans. High heat is the primary enemy of the coating. Never preheat an empty non-stick pan on high heat.
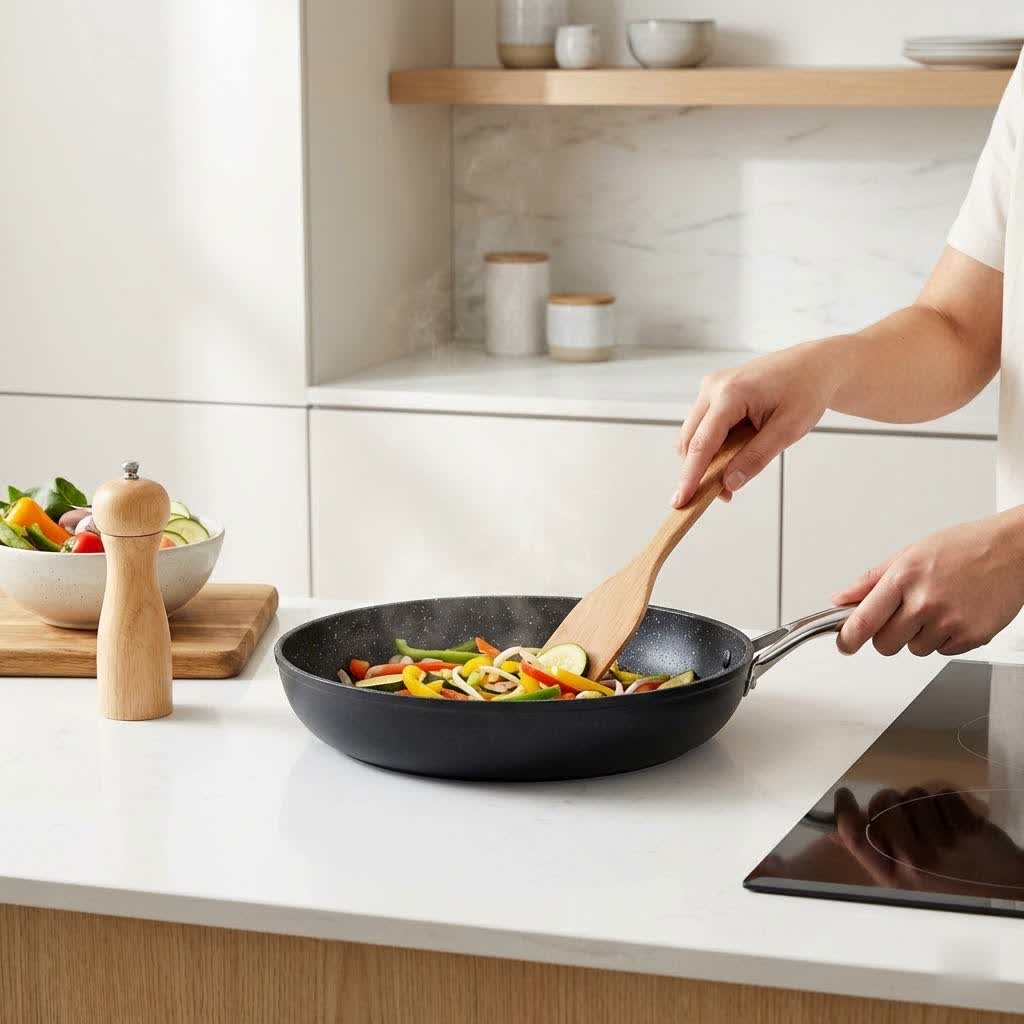
- Choose the Right Utensils: Stick to wood, silicone, or plastic utensils to avoid scratching the delicate surface. Metal can easily cause irreversible damage.
- Embrace Gentle Cleaning: Hand wash your non-stick pans with warm water and mild dish soap using a soft sponge or cloth. Avoid abrasive scrubbers, steel wool, or harsh chemicals. Unless explicitly stated by the manufacturer, keep them out of the dishwasher.
- Avoid Aerosol Cooking Sprays: While convenient, these sprays often contain additives that can build up and polymerize into a sticky, difficult-to-remove residue over time, even with regular washing. A small amount of liquid cooking oil is a better choice.
- Store Thoughtfully: To prevent scratches from other cookware, store non-stick pans with pan protectors (felt pads) or hang them.
- Regular Light Seasoning: Consider repeating the light seasoning process (the stovetop method) every few months, or whenever you notice a slight decrease in non-stick performance, to maintain the protective layer.
When to Say Goodbye: Knowing When Your Pan is Beyond Repair
While many sticky non-stick pans can be revived, there are instances where it’s time to replace them. If your pan exhibits any of the following, it might be beyond help:
- Extensive Scratches, Peeling, or Flaking: If the non-stick coating is visibly scratched, peeling, or flaking, it’s not only ineffective but also potentially unsafe, as bits of the coating could leach into your food.
- Warped Pan: A pan with a warped or uneven bottom will heat inconsistently, leading to hot spots and further sticking, and cannot be corrected.
- Persistent Stickiness After Seasoning: If, after a thorough deep clean and careful re-seasoning, your pan remains stubbornly sticky, the coating may be too degraded to recover.
In these cases, for safety and cooking efficiency, it’s best to invest in a new non-stick pan.
Conclusion
Don’t let a sticky surface convince you that your non-stick pan is destined for the trash. By understanding the common causes of stickiness and applying the simple secret of deep cleaning combined with a light re-seasoning, you can often restore your pan’s functionality and extend its life. Implementing consistent care practices, from managing heat to using the right utensils, will keep your non-stick cookware performing its best for years to come. Give your pan a second chance and enjoy stress-free cooking once again!
What’s your go-to trick for keeping your non-stick pans in top condition?
Frequently Asked Questions
Can you truly re-season a non-stick pan?
While non-stick pans don’t develop the same permanent seasoning layer as cast iron, you can effectively “re-season” them by deep cleaning to remove polymerized oil and then applying a thin, baked-on layer of high smoke point oil. This process helps restore a temporary protective surface and improves food release.
What type of oil should I use to re-season a non-stick pan?
It’s best to use an oil with a high smoke point such as canola, vegetable, grapeseed, or avocado oil. These oils can withstand the necessary heat without breaking down quickly and creating more sticky residue. Avoid using olive oil, which has a lower smoke point.
How often should I re-season my non-stick pan?
The frequency depends on how often you use your pan and how well you maintain it. As a general guideline, consider giving your pan a light re-seasoning every few months, or whenever you start to notice food sticking more frequently, after a thorough cleaning.
Is it safe to use a scratched non-stick pan?
If a non-stick pan has minor, superficial scratches, it may still be safe to use, though its performance will be reduced. However, if the coating is severely scratched, peeling, or flaking, it is generally recommended to replace the pan to avoid ingesting bits of the coating and for optimal cooking results.
Why does food stick to a new non-stick pan?
Even new non-stick pans can sometimes be sticky due to manufacturing residues or if they weren’t properly washed and seasoned before first use. A quick wash with mild soap and water, followed by a light seasoning with a high smoke point oil, can help ensure optimal non-stick performance from the start.